The glute bridge strengthens your hips and supports your back, lying down and low risk. Steps, reps, mistakes and progressions from a physiotherapist.
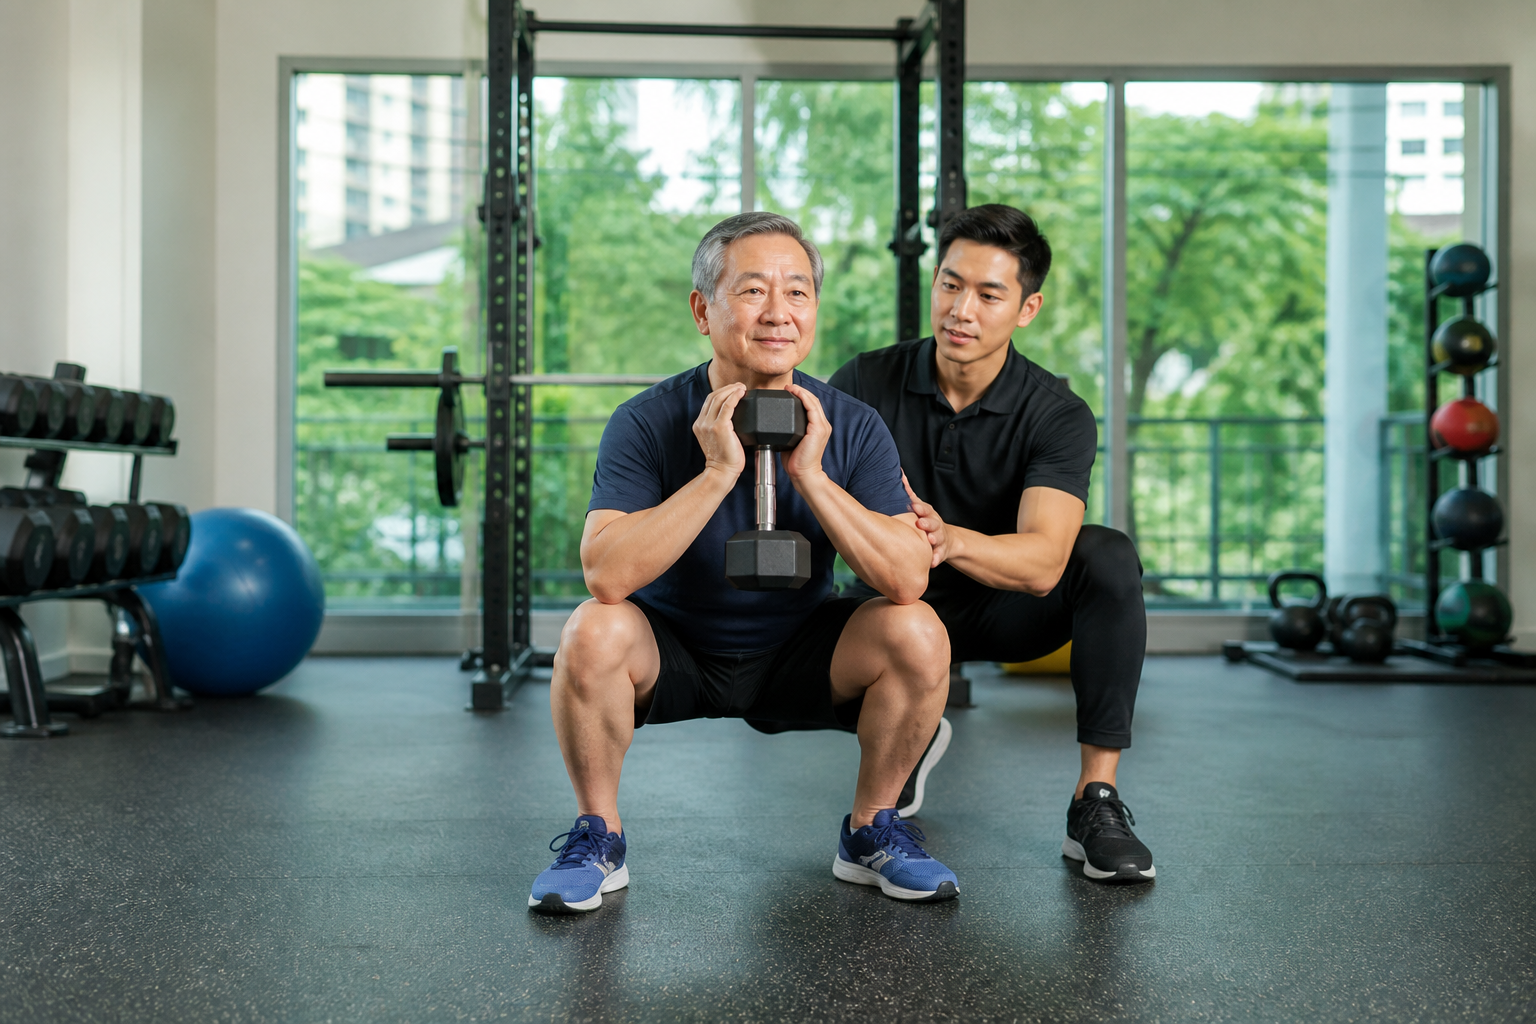
The glute bridge is a lying-down exercise where you press through your heels and lift your hips until your body forms a straight line from shoulders to knees. It strengthens the glutes that drive walking, stairs and standing up, and it is gentle enough for most beginners. Start with two sets of 10 to 15 slow repetitions.
Why do the glutes matter?
The glutes are the largest muscles in the body and do much of the work in standing up from a chair, climbing steps and pushing off when you walk. Long hours of sitting, which are common in desk-based jobs and long commutes around the Klang Valley, leave these muscles underused. When they are weak, the lower back, hamstrings and thighs compensate, and many people feel it as a tired back at the end of the day, a shorter stride or difficulty rising from a low seat.
The glute bridge is popular in rehabilitation and longevity programmes because it loads these muscles directly, is done lying down so balance is not an issue, and is easy to scale. It also sits well within the strength training for longevity pillar, in line with guideline advice that older adults train major muscle groups on two or more days a week.
How to do a glute bridge step by step
- Set up. Lie on your back on a mat or firm bed, knees bent, feet flat and about hip-width apart. Place your heels roughly a hand’s length or two from your backside, so your shins are close to vertical at the top.
- Arms. Rest your arms by your sides with palms down.
- Brace gently. Draw your lower ribs down towards your hips, as if you were slightly flattening your lower back to the floor.
- Lift. Press through your heels and raise your hips until your shoulders, hips and knees form a straight line.
- Squeeze. Hold for one to two seconds, squeezing your glutes firmly, without pushing your ribs up.
- Lower slowly. Take about two to three seconds to return, touching down lightly before the next repetition.
You should feel the work in your backside and the back of your hips. Little or no effort in the lower back is the sign you are doing it right.
Reps, sets and timing
| Level | Prescription |
|---|---|
| Beginner | 2 sets of 8 to 10 reps, 2 to 3 days a week |
| Standard | 2 to 3 sets of 10 to 15 reps, 2 to 3 days a week |
| Progressed | 3 sets of 8 to 12 single-leg or weighted reps, 2 days a week |
Rest 30 to 60 seconds between sets. A bridge hold of 20 to 30 seconds is also a useful variation.
Common mistakes and how to fix them
- Arching the lower back at the top. If your ribs flare and your back hurts, you have gone too high. Stop when shoulders, hips and knees line up and tuck the ribs down.
- Pushing through the toes. Lift your toes slightly or press through the whole heel to bring the glutes in.
- Feeling it mainly in the hamstrings. Your feet may be too far from your hips. Bring them a little closer.
- Feeling it mainly in the front of the thighs. Move your feet slightly further away.
- Letting the knees fall in or out. Keep your knees tracking over your second toes.
- Rushing. The squeeze at the top and a slow lowering do most of the work.
Easier and harder versions
Easier
- Lift only as high as is comfortable and focus on the squeeze.
- Place a small cushion under your head or a rolled towel under your lower back if lying flat is uncomfortable.
Harder
- Add a resistance band above the knees and press outward.
- Rest a dumbbell or a filled bag across your hips.
- Raise your feet on a low stool.
- Single-leg bridge: extend one leg straight, keep the hips level and lift on the other.
- Hold the top position for 3 to 5 seconds.
Where does it fit in your routine?
Use the glute bridge as a warm-up to switch the glutes on, or as the first exercise in a lower-body session. It pairs naturally with the hip hinge and with step-ups, and it supports the strength you need for getting up from the floor. Stronger hips also help balance and walking speed. If you want to check your leg strength, try the sit-to-stand test.
Is it safe for lower back pain?
Many people with persistent non-specific low back pain benefit from exercise, and a 2020 network meta-analysis of exercise types found that several forms of exercise helped, with no single type clearly dominant. Glute bridges are one of the lower-risk options, but keep them pain-free. Sharp pain, pain that travels down the leg, numbness, pins and needles or weakness in the leg, recent trauma, or back pain with fever or unexplained weight loss need medical assessment before exercising. See exercise for chronic back pain for more.
Also take care if you have had a recent hip replacement or abdominal surgery, are pregnant beyond the first trimester (lying flat on your back may be uncomfortable or advised against), or have osteoporosis with vertebral fractures. Check with your clinician first. Stop for sharp pain, dizziness or cramp that does not ease when you rest.
Key takeaways
- The glute bridge strengthens the glutes, the muscles behind walking, stairs and standing up, and is done lying down.
- Press through your heels, stop at a straight line from shoulders to knees and squeeze for one to two seconds.
- Start with two sets of 10 to 15 reps, two to three days a week, then progress to single-leg or weighted bridges.
- Feel it in the backside, not the lower back. If your back works, you have lifted too high.
- Leg pain, numbness, recent injury or surgery means get assessed first.
If you would like bridges built into a complete plan, we run home-visit assessments across KL and Selangor.